Skip to Main Content

Create a new award
- Within the course, do one of the following:
- Open the Assessments drop-down menu in the navbar and click on the Awards item.

- select Course Admin. From the Assessments area, select Awards.

- Select Add Award to Course.

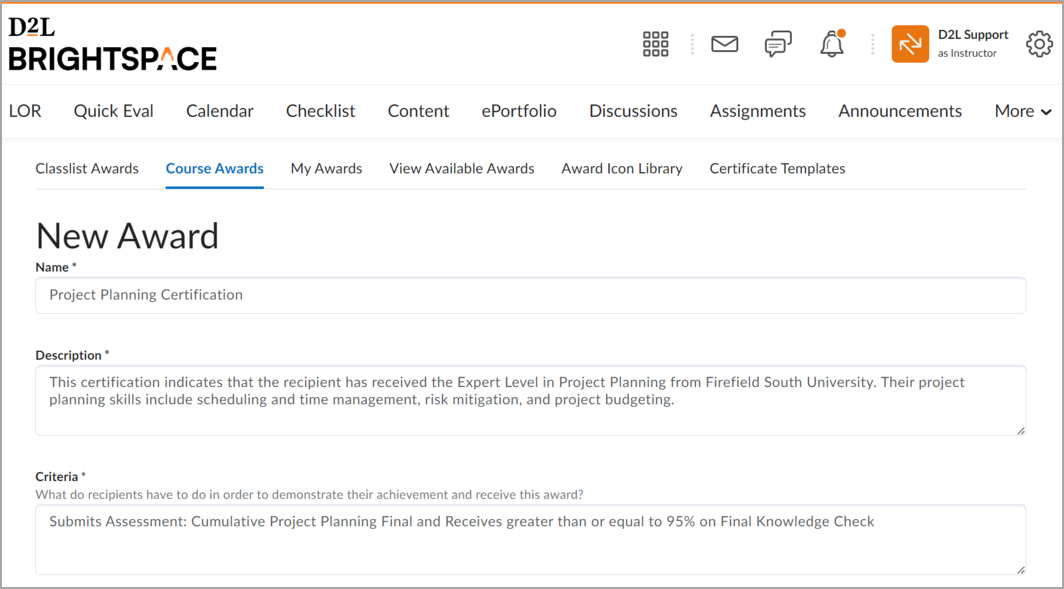
- Select Create Award.
- Enter a name and description for the new award.
- Select an award type from the drop-down list.
- Select the appropriate check boxes to indicate if you want the award to be available to other award managers, and where it is available within the org structure.
- Select the expiry options:
- If the award will not expire, select Never. Examples of awards that never expire are certificates of merit for passing a course, or badges for perfect attendance.
- If the award will expire on a specific date, select Fixed date. Examples of awards that will expire on a specific date are certifications for a skill that must be renewed, such as first aid training.
- If the award will expire on a day relative to the day the award was granted, select Relative Day of the Month. Examples of awards that expire on a relative date are badges for Learner of the Week or for having achieved 100% on a test or assignment.
- If you want to notify the award recipient before an award expires, select the check box and indicate the number of days of lead time.

- In the Choose Award Image area, do one of the following:
- If the image already exists in the image library, select From Existing Library.
- If you want to add a new icon to the image library, select Upload New Icon.
- To launch the OpenBadges website, select Create your own award image. OpenBadges is a free website that allows you to create custom icons.
- If you are creating a new certificate, in the Choose Certificate Template area, do one of the following:
- If the PDF template already exists in the image library, select From Existing Library.
- If you want to add a new template to the image library, select Upload New Template.
- Verify that the Issuer Information is correct.

- Ensure that the Associate this award to the <current course> on creation check box is correctly set.
- Select Save.